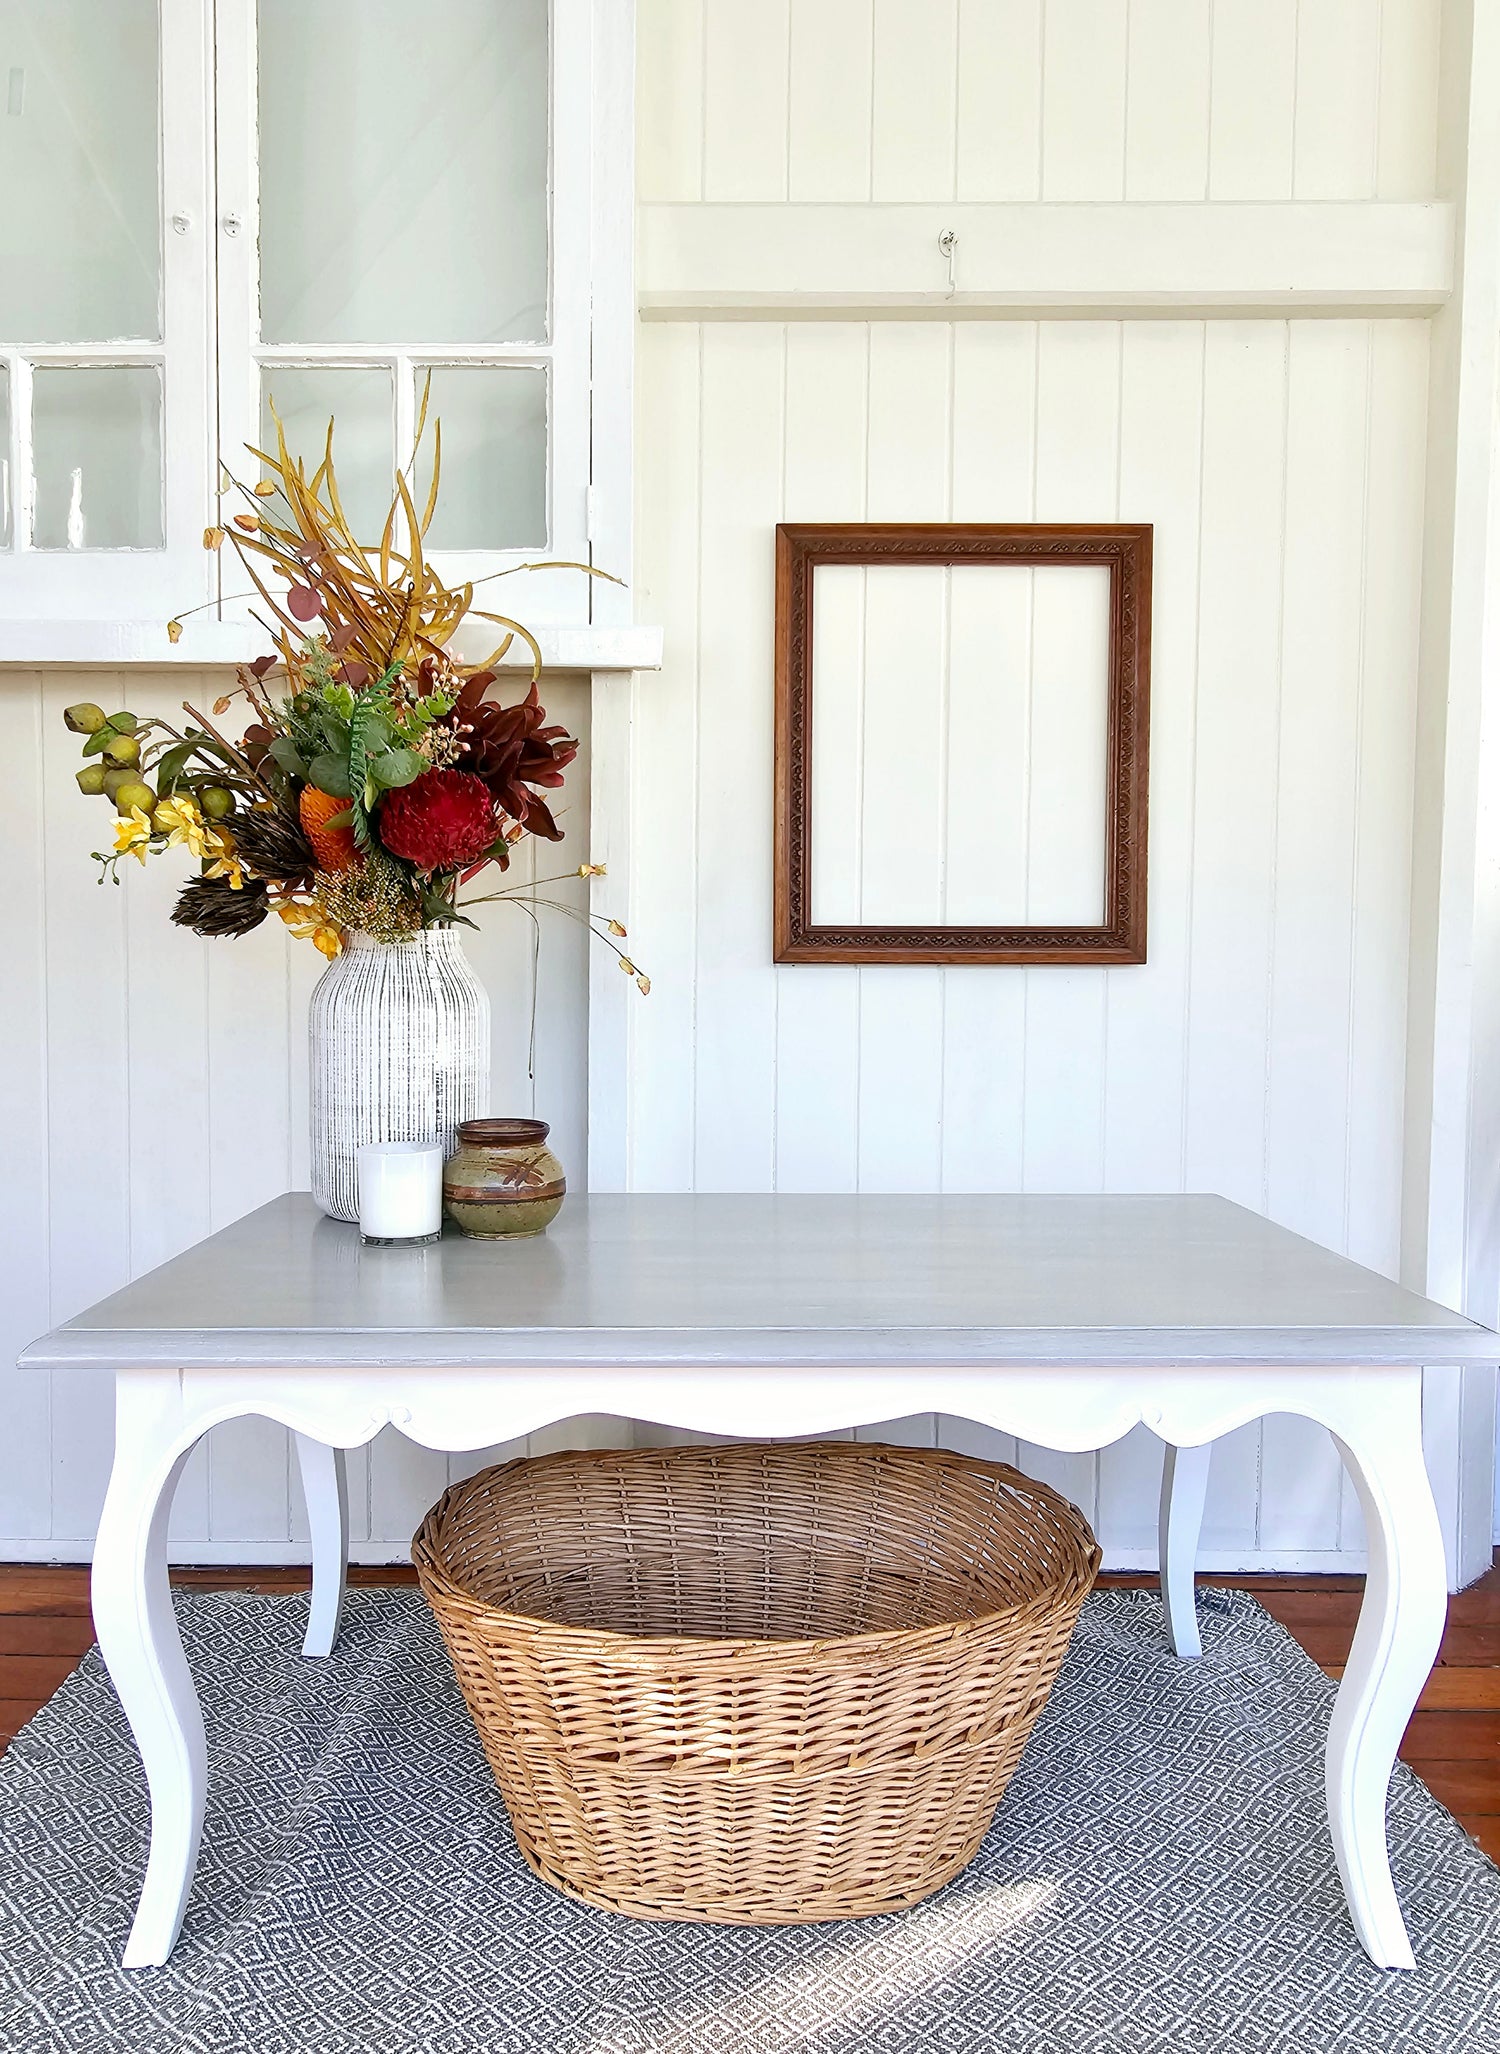

Are you looking to give your coffee table a fresh and unique look? One way to add texture and character to your furniture is by using what we call the 'dry brush' technique with Blake & Taylor Chalk Furniture Paint. This simple yet effective method allows you to create a beautifully weathered and textured finish that can completely transform the appearance of your furniture. In this blog, we will guide you through the process of using the dry brush technique with chalk paint to create a stunning and personalised look for your coffee table.
What We Used
- Coffee table
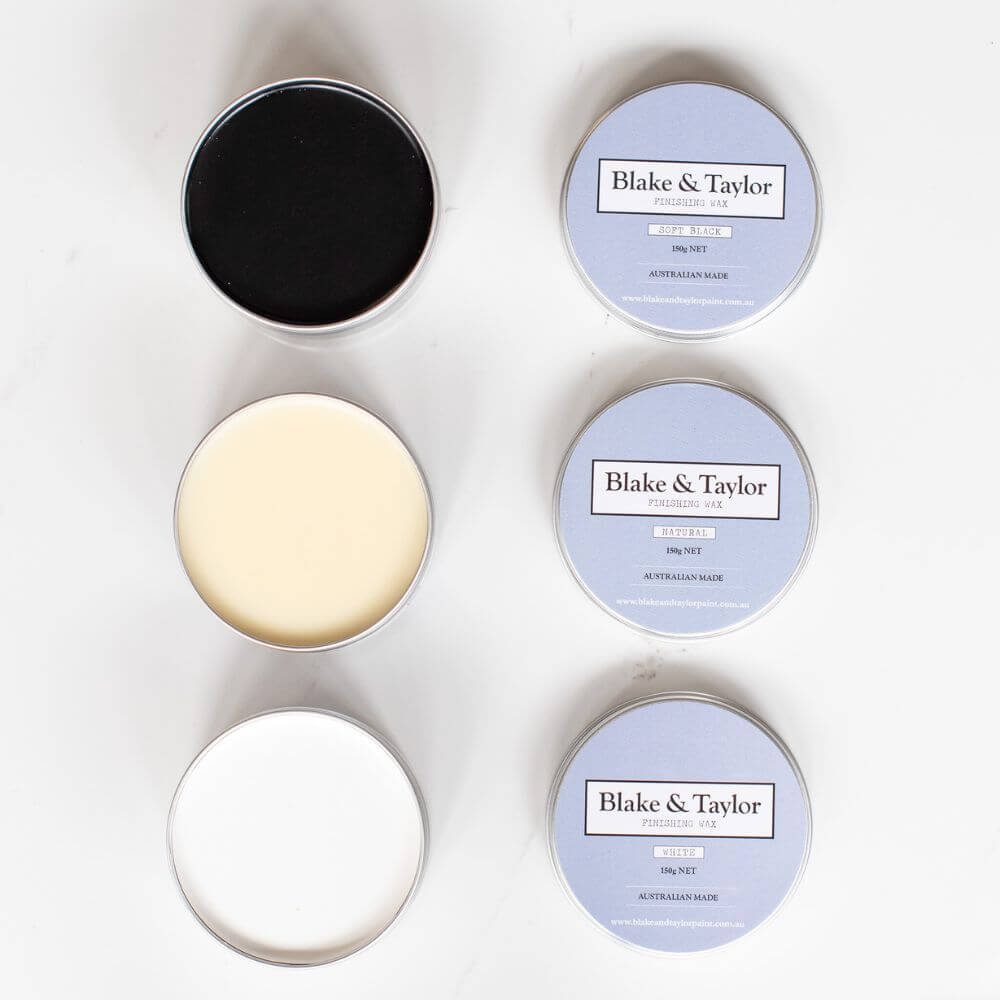
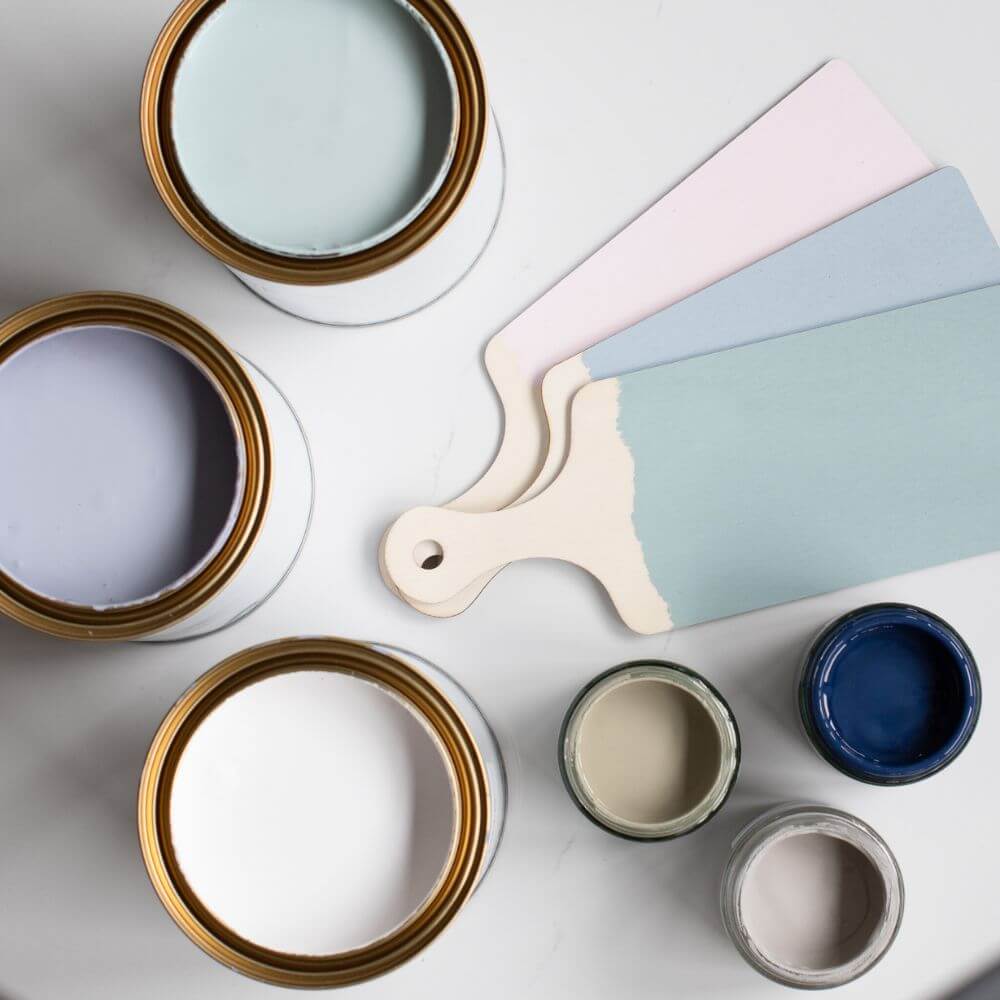
- Blake & Taylor Chalk paint colours French Linen, New White and Black
- Paintbrushes, roller, stirrers, paint tin opener
- Sandpaper
- Drop cloth
- Clean cloths
- Degergeant
- Tupperware
- Blake & Taylor Clear Top Coat

Step-by-Step Instructions:
- Prepare your workspace: Start by covering your work surface with a drop cloth or newspaper to protect it from paint spills. It's also a good idea to work in a well-ventilated area. Clean your piece with a suitable cleaner such as sugar soap solution or methylated spirit if it is really dirty!
- Lightly sand it with medium sandpaper to create a bit of texture and tooth. There were a few areas where the previous paint had started to chip so sanding these parts gives a smoother surface to work with. Wipe away the sanding residue with a clean cloth or sponge.
- Give your paint a good stir and pour out the quantity you will need and replace the lid. This ensures your paint doesn't dry out and you are not dipping the paintbrush direct into your can. Using our 25mm synthetic bristle brush we painted the legs first using New White. TIP- try to work higher by placing your piece on a table to save your back! Flip it upside down if you are painting the legs first! Apply a thin and even layer of chalk paint to the coffee table legs. Allow the paint to dry completely before re-coating. Time for a cup of tea (or coffee....or wine 😁)
- Once dry flip the table over and now time to paint the top. Using French Linen and a 50mm brush work with long strokes across the top. We aren't worried too much about brush strokes as this will add to the texture once we start dry brushing.
- Once completely dry its time to prepare your brush for dry brushing. I like to use an old brush so never throw them out! To create the textured effect, dip the tips of your dry brush lightly into your paint. Then, wipe off the excess paint onto a cloth. The brush should only have a small amount of paint on it for the dry brushing technique. With a light hand, gently brush the coffee table surface using long and sweeping strokes. The goal is to apply a thin layer of paint, leaving some areas exposed for a weathered look. Focus on the edges, corners, and raised details of the table to enhance the texture. Remember to keep the brush strokes in the direction of the wood grain.

- If you are using a combination of colours like we did use a seperate dry brush for each colour and build up layers. Layering different colours can add depth and dimension to your coffee table. Allow each layer to dry before applying the next one. TIP - use a dry cloth to rub and blend too
- Optional - For an even more aged and distressed appearance, you can lightly sand certain areas of the coffee table after the paint has dried. Focus on the edges, corners, and any areas that would naturally wear over time. Sanding will expose the timber and create a beautifully worn effect.

- Seal the paint. To protect the finish and enhance the durability of the coffee table, we applied Blake & Taylor Clear Top Coat with a roller. The roller creates a beautiful smooth finish without brush marks. Allow to cure for 7 days before using it and you now have a gorgeous textured coffee table.


Watch the full step by step video by clicking here, watch now