
The Upcycler’s Edit: How to Stencil Furniture Like a Pro (It’s Easier Than You Think!)
Ever look at a plain piece of furniture and think, “You need a little something special”? That’s where stencilling comes in. It’s such an easy (and fun!) way to add pattern, texture, and personality to your projects — and with our new Blake & Taylor Mylar Stencils by Dizzy Duck Designs, you can go from meh to marvellous in an afternoon.
We'll walk you through exactly how to use them — three different techniques, loads of tips, and everything you need to know before you dive in.
What You’ll Need
Let’s get organised first. Here’s your stencil toolkit:
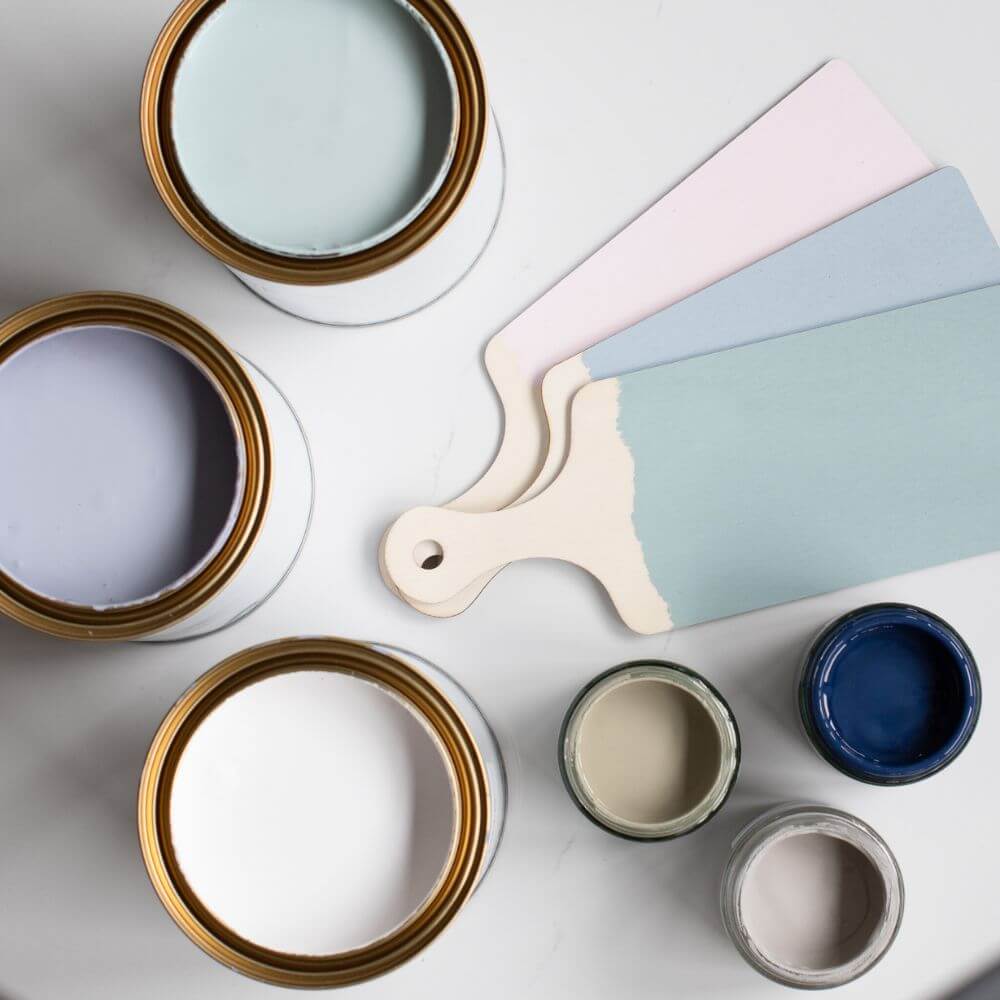
- Blake & Taylor Furniture Paint (in your chosen colour/s)
- Dizzy Duck Designs Mylar Stencil (your new best friend)
- Painter’s tape or low-tack spray adhesive (so your stencil stays put!)
- Stencil brush (for technique 1)
- Small sponge (for technique 2)
- Small foam roller (for technique 3)
- Paper plate or palette (to offload paint)
- Paper towel or rag (trust me, you’ll need them)
- Fine-grit sandpaper (optional, if you like a smooth or distressed finish)
- Topcoat/sealer (for extra protection if needed)

Prepping Your Piece
Don’t skip this bit — it’s the difference between good and wow.
- Clean it up – Dust, dirt, and grease are the enemies of paint. Wipe it all down.
- Lay the foundation – Give your piece a lovely base coat of Blake & Taylor paint and let it dry completely. If you are working on raw timber, skip this step.
- Position your stencil – Use painter’s tape or a quick spritz of low-tack spray adhesive to keep your stencil from sliding around.

Three Ways to Stencil (Pick Your Adventure!)
1. The Stencil Brush Method (great for blending two or more colours)
- Dip your brush in your paint, then dab most of it off on a paper towel or rag (seriously, less is more here).
- Using an up-and-down dabbing, apply the paint.
- Lift the stencil straight up — don’t drag it — for that perfect reveal.
- Pro tip: If you’re stencilling on a bumpy or detailed surface, this is your go-to technique.

2. The Sponge Method (For a softer, textured look)
- Lightly dip your sponge in the paint, then blot the excess off (no drips allowed).
- Gently dab or pounce over the stencil, layering the colour slowly.
- Peel it back to reveal a slightly more rustic, blended finish.
- Pro tip: This is fab for vintage or farmhouse-style pieces where you want a more lived-in look.

3. The Foam Roller Method (For speed and large surfaces)
- Roll your foam roller in a little paint, then roll it over a paper towel or rag to remove excess.
- Lightly roll over your stencil, keeping pressure even.
- Carefully lift the stencil off before the paint dries to avoid peeling.
- Pro tip: Great for big, bold designs or repeating patterns over large areas.

The Finishing Touch
Once your design is dry, you can:
Give it a light sand for that beautiful, worn-in character (optional).
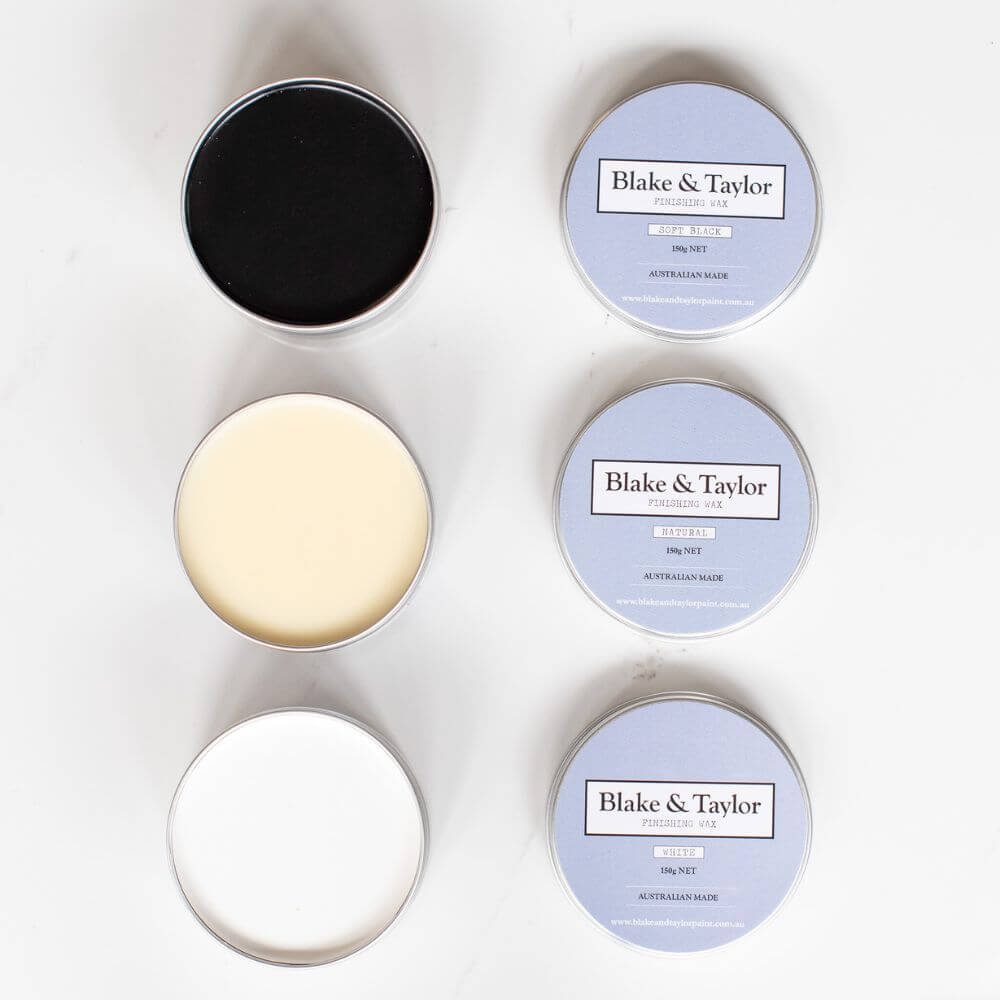
Add your protective topcoat or wax
And that’s it!
Stencilling really is one of those projects that looks way more complicated than it is. Once you try it, you’ll be hooked — and our Dizzy Duck Designs stencils make it easy and fun (with beautiful patterns you’ll actually want to live with).
Ready to Play?
Shop the Blake & Taylor Paint Stencil collection →] Click Here